How to Add Your NFC Business Card to Apple & Google Wallet
| How-To | Lets Connect
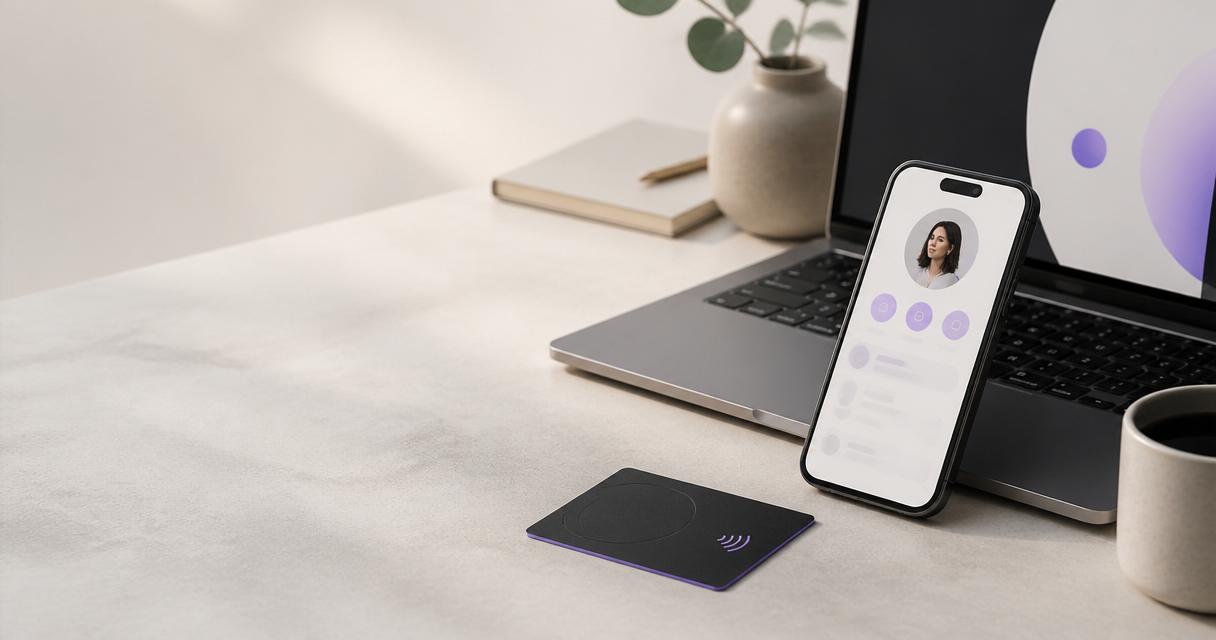
Save your digital business card to Apple Wallet or Google Wallet for instant, always-accessible networking — no physical card needed for digital-only moments.
Adding your NFC business card to Apple Wallet or Google Wallet gives you a second, always-available way to share your profile — no card in your pocket needed. Open Wallet, tap the pass, and the QR code is on screen ready to be scanned, or the NFC payload is ready to broadcast. It is particularly useful for video calls, unexpected coffee chats and situations where you'd rather not fish a card out of a bag. This guide covers the setup for both platforms, plus a few practical tips learned from customers.
If you haven't yet ordered your card, start with an NFC business card or the digital business card profile — both integrate with Wallet.
Why put a business card in a mobile wallet?
Three practical reasons:
- You always have your phone on you. The physical card lives in a wallet or drawer; the pass lives on the lock screen.
- It shows on the lock screen when relevant. iOS and Android surface passes based on time or location, so at a conference your card appears without you opening any app.
- It carries a live QR. During a video call you can hold up your phone and the other person scans your pass — no screen-share required.
It doesn't replace the physical card; it complements it.
Add your card to Apple Wallet (iPhone)
There are two supported paths depending on how you generate the pass.
Path A — from your Lets Connect dashboard (recommended):- Open your profile in the Lets Connect dashboard
- Choose Share → Add to Apple Wallet
- On your iPhone, tap the generated link
- The pass previews — confirm Add in the top right
- The pass now lives in Apple Wallet
- Ask a colleague to send you the .pkpass file via AirDrop, Messages or email
- Tap the attachment on your iPhone
- Preview appears — tap Add
Once added, the pass supports the standard Wallet gestures: swipe between passes, tap for the QR code, and use the "…" menu to update, share or remove.
Add your card to Google Wallet (Android)
- Open your profile in the Lets Connect dashboard
- Choose Share → Save to Google Wallet
- On your Android device, tap the generated link
- Google Wallet opens and previews the pass — tap Save
- The card appears alongside your loyalty and boarding passes
If your device does not have Google Wallet installed, install it from the Play Store first. Google Wallet is supported on virtually all modern Android devices.
What the pass looks like
A well-designed pass usually contains:
- Your name and role on the front
- Your logo in the corner
- The QR code for your profile on the back
- A short CTA ("Scan to save my contact")
- Optional location and time triggers so the pass surfaces on the lock screen when useful
Keep the design consistent with your physical card and profile — same colours, same logo, same typography. Consistency signals professionalism the moment the pass appears on someone's screen.
Pro tips
- Use a transparent PNG logo at 480 × 150 px minimum for Apple Wallet; smaller logos look blurry
- Set a location trigger for your office or a recurring conference so the pass surfaces automatically
- Include a short pitch in the back-of-pass details — Wallet supports a scrollable text area
- Test the pass on your own device before sending; Wallet passes can behave differently across iOS versions
- Update the pass whenever you rebrand — Wallet passes are updated over-the-air, so recipients see the change automatically
Troubleshooting
The "Add to Apple Wallet" button does nothing. You are probably on Android; use the Google Wallet option instead. On iPhone, make sure you're using Safari (some in-app browsers block .pkpass files). The QR code is blurry. Increase the pass brightness inside Wallet, or ask the scanner to move closer. Most cameras read even a low-resolution QR at 5–10 cm. The pass isn't appearing on the lock screen. Enable location-based suggestions in Wallet Settings, and make sure the pass has a valid location trigger. I updated my profile but the pass still shows old details. Wallet passes are refreshed over-the-air; force a refresh by pulling down inside the pass.For a deeper look at how the underlying tech works, see our how NFC business cards work explainer and the progressive-web-app digital business cards piece for install-to-home-screen alternatives.
Frequently Asked Questions
Can I use Apple Wallet without an iPhone?
No — Apple Wallet is iOS-only. On Android use Google Wallet, which supports the same use case.
Do I need a physical NFC card to use the Wallet version?
No. The Wallet pass is standalone and shares your profile via QR (and NFC on Android, where supported). The physical NFC card is the more premium in-person option and complements the Wallet pass rather than replacing it.
Will the Wallet pass update automatically when I change my profile?
Yes. Passes are refreshed over-the-air, so a rebrand or contact change propagates without the recipient reinstalling.
Can I share the Wallet pass with clients so they can save it?
Yes. Send the .pkpass file (Apple) or share link (Google) — anyone can add your pass to their wallet, effectively saving your contact for later.
Is my data secure in a Wallet pass?
The pass only contains public profile data (name, role, links, logo) plus a URL. Nothing sensitive is stored on the pass, and Wallet itself is protected by device authentication.
Ready to save your card?
Order an NFC business card or spin up a digital business card profile, then add it to Apple or Google Wallet from your dashboard. It takes about two minutes.
Further reading: How NFC business cards work · Progressive web app digital business cards · Personal-branding guide for NFC cards